
Sun Salutation for Beginners: Step-by-Step Surya Namaskar Guide with Breath Cues
November 19, 2026 • 7 min read • By Manoj Kumar
Few morning rituals possess the transformative simplicity of Surya Namaskar. Practiced for centuries as a devotional greeting to the rising sun, the classical Sun Salutation for beginners is not just a sequence of physical postures—it is a continuous moving meditation that lubricates every major joint, opens tight fascia, and synchronizes your breath with graceful, natural momentum.
The Golden Breathing Principle: In Surya Namaskar, movement follows breath. Whenever your chest lifts or your body expands, you inhale; whenever your spine folds or your body contracts inward, you exhale. This rhythmic cadence naturally calms the mind and prevents morning breathlessness.
Why Surya Namaskar is the Perfect Morning Practice
When you step out of bed, your body carries overnight stillness: lumbar discs are swollen from recumbent rest, hamstrings feel shortened, and peripheral circulation is sluggish. Rather than forcing isolated muscle workouts, a gentle sequence of Sun Salutations takes your spine through its full functional range: forward folding, gentle extension, axial lengthening, and hip opening.
Practicing just four to six rounds of Surya Namaskar takes less than 10 minutes, yet it delivers a full-body warmup that awakens natural energy without caffeine spikes. If you are also working through morning back tightness, combining this flow with our gentle yoga for back pain routine offers complete spinal support.
The 12-Step Classical Sun Salutation Sequence
Before beginning, roll out a supportive, high-traction mat that protects your knees and palms (read our guide to the best yoga mats for beginners). Stand at the top edge of your mat with feet together or hip-width apart for extra stability.
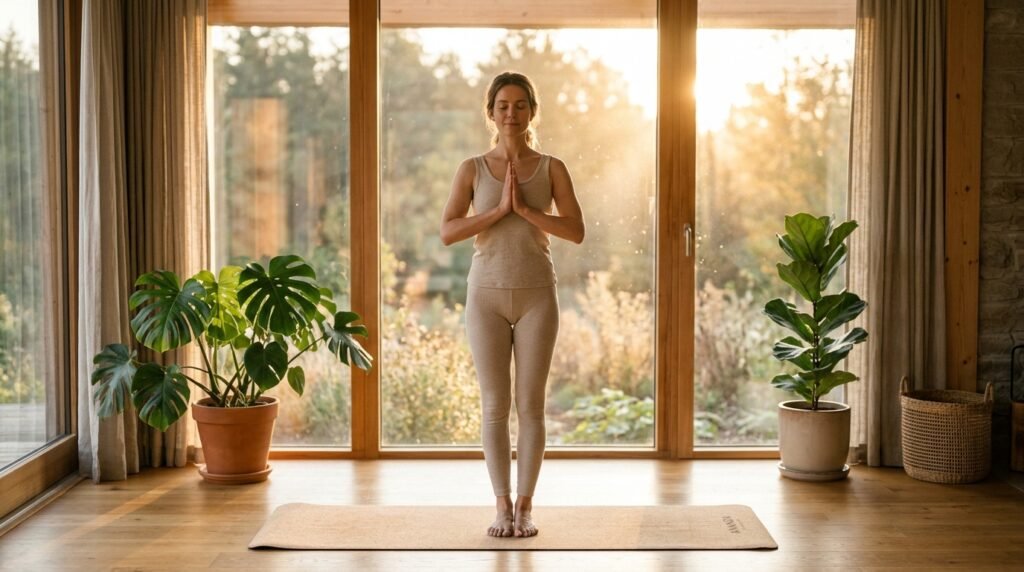
Step 1: Pranamasana (Prayer Pose)
- Breath: Exhale gently.
- Alignment: Stand tall with weight balanced evenly across all four corners of your feet. Draw your shoulder blades gently down your back and bring your palms together in Anjali Mudra at your chest. Gaze softly forward and set a peaceful morning intention.
Step 2: Hastauttanasana (Raised Arms Pose)
- Breath: Deep inhale.
- Alignment: Sweep your arms out and overhead, palms facing each other. Root firmly through your heels, engage your quadriceps, and gently lengthen upward through your fingertips. Keep your core gently braced to protect your lower back—think of lifting your ribs upward rather than bending sharply backward.
Step 3: Padahastasana (Standing Forward Bend / Uttanasana)
- Breath: Complete exhale.
- Alignment: Hinge at your hip creases and fold your torso over your thighs. Beginner modification: Bend your knees generously! Resting your ribs against your thighs protects tight hamstrings and decompresses your lumbar spine safely. Rest your fingertips on the mat beside your feet.
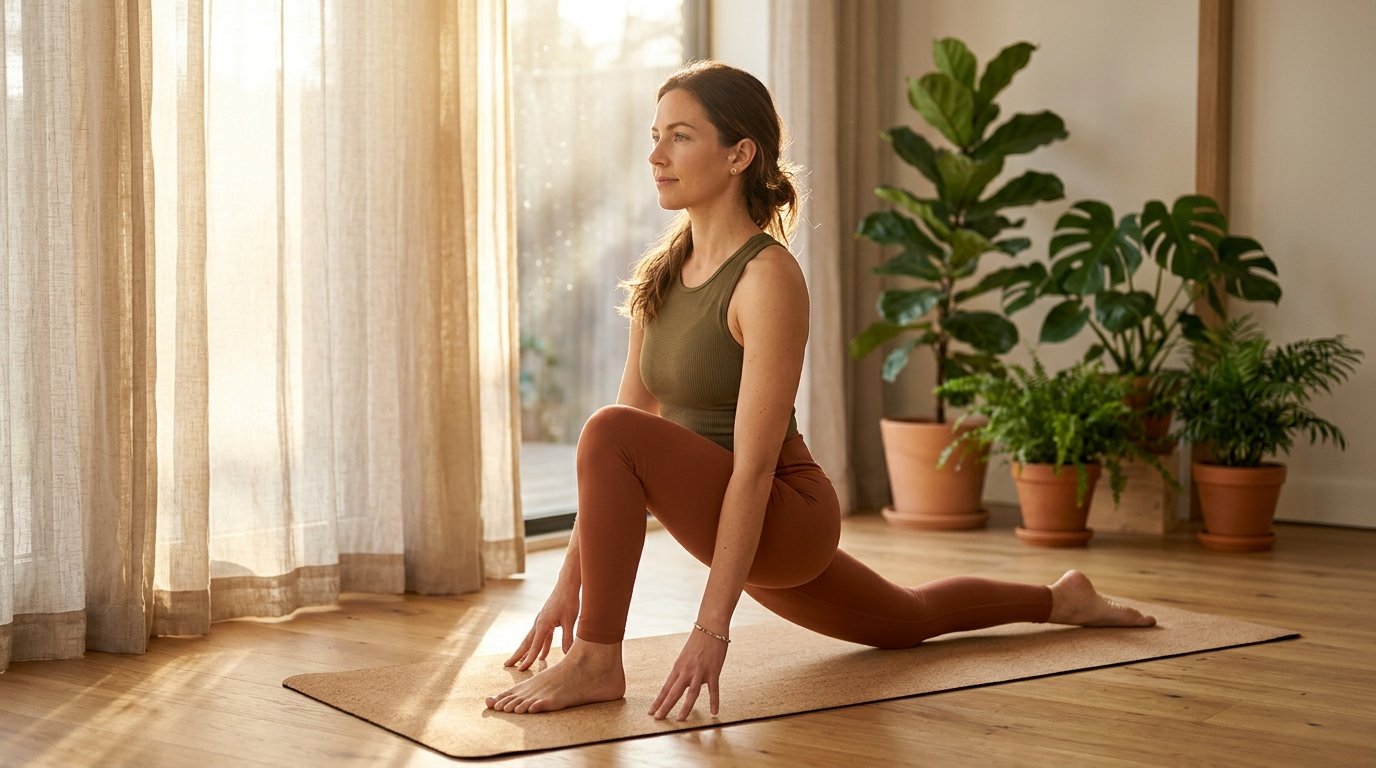
Step 4: Ashwa Sanchalanasana (Equestrian / Low Lunge Pose). Grounding the back knee gently and opening the chest releases deep hip flexor tension accumulated from sitting.
Step 4: Ashwa Sanchalanasana (Equestrian / Low Lunge Pose)
- Breath: Inhale.
- Alignment: Step your right leg far back and lower your right knee softly to the mat. Keep your left knee stacked directly above your left ankle at 90 degrees. Press your fingertips into the floor or place them on yoga blocks, roll your shoulders back, and look gently forward as you feel your right hip flexor lengthen.
Step 5: Dandasana (Plank Pose)
- Breath: Retain breath (or smooth neutral inhale).
- Alignment: Plant both palms flat, step your left foot back to meet your right, and bring your body into one straight, energized line from crown to heels. Press the floor away to broaden through your upper back, engaging your core and thighs without letting your hips sag.
Step 6: Ashtanga Namaskara (Eight-Limbed Salute)
- Breath: Exhale.
- Alignment: Lower your knees to the mat first, then slowly lower your chest and chin between your hands while keeping your hips slightly elevated. Eight points of contact touch the earth: two feet, two knees, two hands, chest, and chin.
- Modification: If your shoulders feel tired, simply lower all the way flat to your belly in one smooth, controlled motion.
Step 7: Bhujangasana (Cobra Pose)
- Breath: Inhale.
- Alignment: Slide your torso forward and lay the tops of your feet flat on the mat. Press down through your pubic bone, keep your elbows tucked close to your ribs, and gently lift your chest a few inches off the floor. Keep little to no weight in your hands—use the strength of your upper back muscles to lift.
Step 8: Adho Mukha Svanasana (Downward-Facing Dog)
- Breath: Exhale.
- Alignment: Tuck your toes, press firmly through your palms, and lift your hips up and back to form an inverted “V”. Keep your knees bent if your hamstrings feel tight—the priority in Downward Dog is a long, neutral spine, not touching your heels to the floor. Stay for one full breath cycle.
Step 9: Ashwa Sanchalanasana (Low Lunge – Opposite Side)
- Breath: Inhale.
- Alignment: Step your right foot forward between your hands. Lower your left knee to the mat, lift your chest, and look forward. If your foot doesn’t reach all the way between your hands in one step, gently take your right ankle with your hand and place it forward.
Step 10: Padahastasana (Standing Forward Bend)
- Breath: Exhale.
- Alignment: Step your left foot forward beside your right. Fold forward over your legs with soft knees, relaxing your neck completely and letting your head hang heavy toward the floor.
Step 11: Hastauttanasana (Raised Arms Pose)
- Breath: Inhale.
- Alignment: Engage your core, press into your feet, and sweep your arms wide as you rise all the way to standing with a long, flat spine. Reach toward the sky and lift your heart.
Step 12: Pranamasana (Prayer Pose)
- Breath: Exhale.
- Alignment: Bring your hands back together in front of your chest in Anjali Mudra. Pause, close your eyes, feel your heartbeat, and observe the warmth circulating through your body. This completes one half of a full round. Repeat on the left side to complete one full cycle.
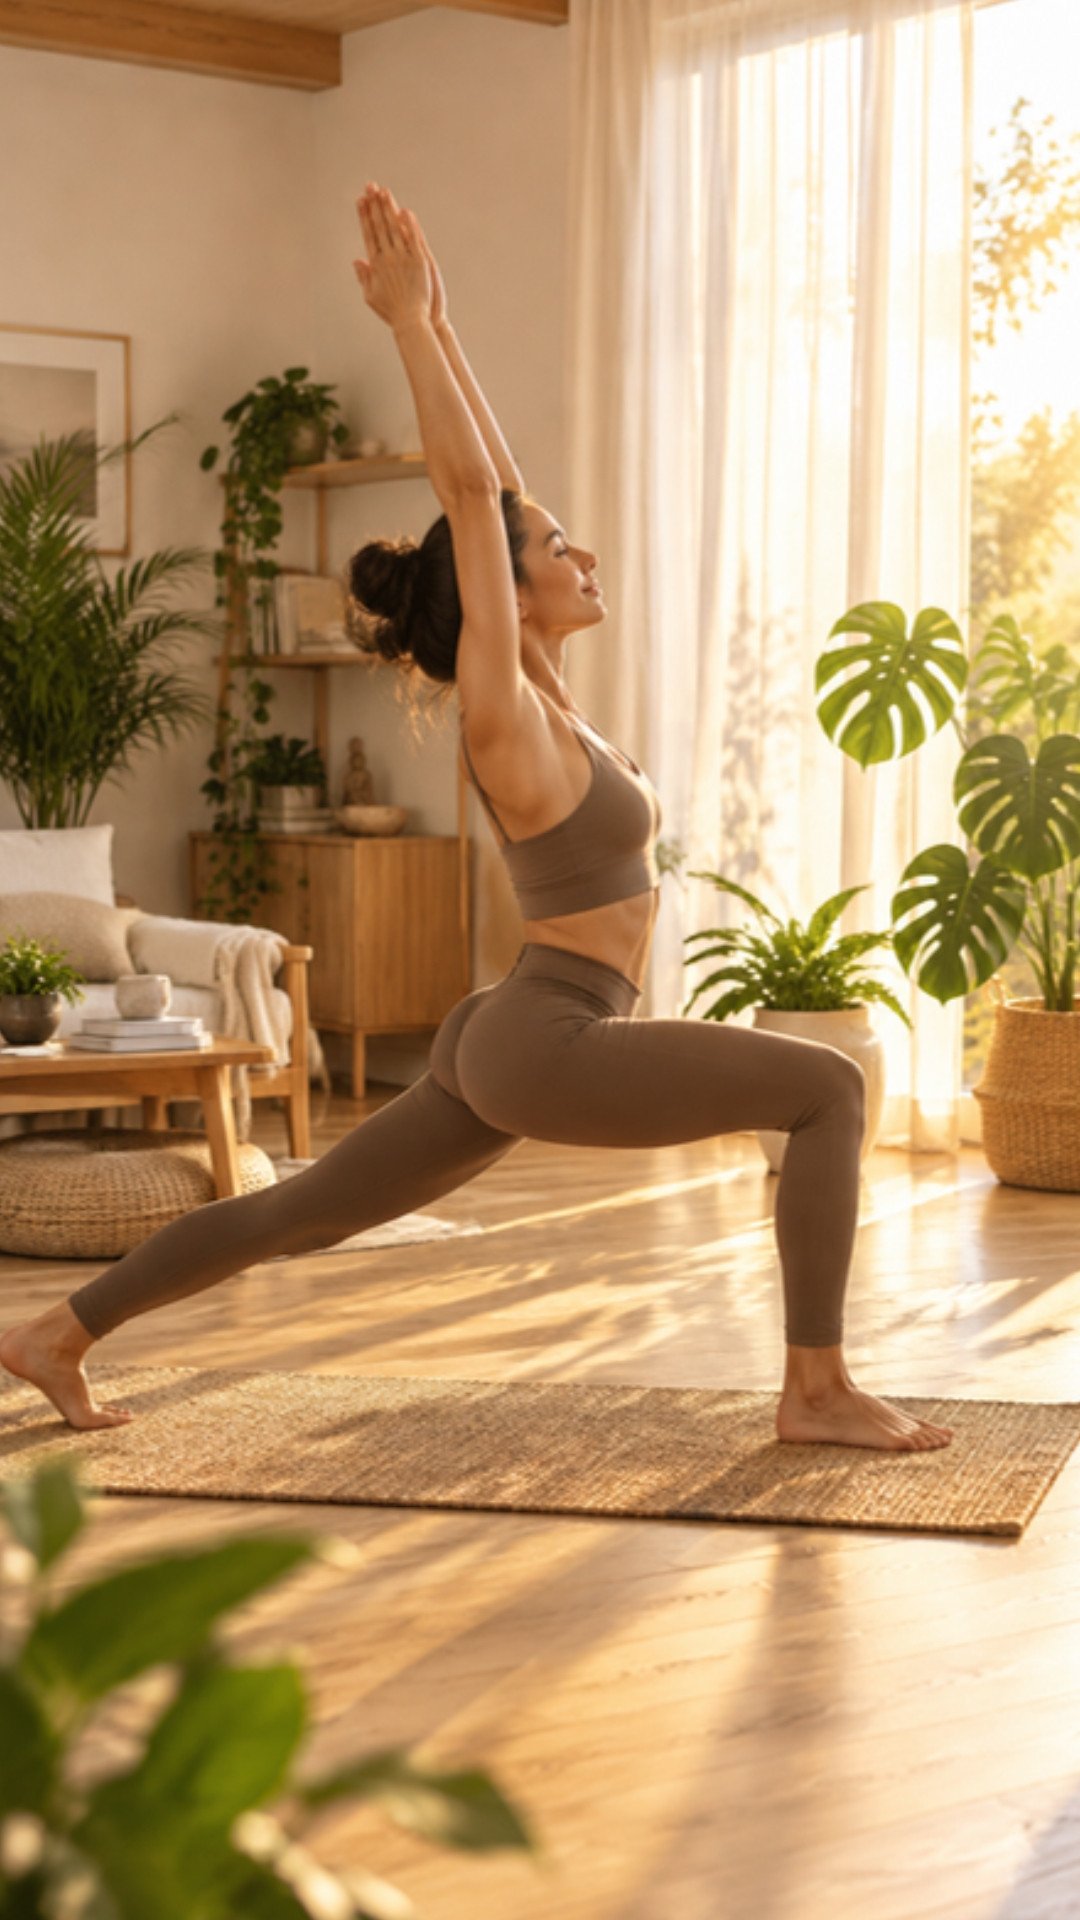
Track Your Daily Surya Namaskar & Morning Rituals
Build an unbreakable morning habit. Log your daily rounds, track posture milestones, and cultivate mindful focus with our guided 30-day digital workbook.
How Many Rounds Should a Beginner Practice?
If you are new to morning yoga, start small to build sustainable consistency:
- Week 1: 2 to 4 rounds (1 to 2 complete pairs). Focus strictly on remembering the 12 poses and matching each movement to its inhale or exhale.
- Week 2 & 3: 4 to 6 rounds. Focus on smoother transitions and softer landings when stepping into low lunges.
- Week 4 onwards: 6 to 12 rounds. Surya Namaskar now becomes an effortless 10-minute cardiovascular and mobility warmup.
Pairing your morning flow with mindful breath awareness helps maintain relaxed composure throughout the workday. Learn more calming breathing techniques in our guide to 10-minute morning breathing exercises.
Essential Gear for Grip & Joint Protection
Surya Namaskar involves frequent stepping, lunging, and weight-bearing on hands and knees. Having the right tools prevents slipping and joint soreness:
WiseLife Classic 6mm Non-Slip Yoga Mat
Provides dual-sided grip so your hands never slide during Downward Dog, with 6mm high-density cushioning for knee comfort in low lunges.
Strauss High-Density Natural Cork Yoga Block (Pair)
Placing blocks under your hands in low lunges and forward folds brings the floor closer, preventing lower back rounding and shoulder hunching.
Common Mistakes to Avoid
- Hyperextending the Lower Back: In Step 2 (Raised Arms), avoid dumping weight into your lumbar spine. Focus on lengthening through your side body and lifting your breastbone toward the ceiling.
- Locking the Knees in Forward Folds: Keeping legs bone-straight when hamstrings are stiff pulls aggressively on your lower back. Always maintain a micro-bend in your knees.
- Collapsing Shoulders in Plank: Actively press the ground away through your finger knuckles to keep your chest broad and wrists comfortable.
- Rushing the Breath: Don’t treat Surya Namaskar like a frantic race. Let each breath dictate the duration of each movement.
When practiced with patience and presence, Sun Salutations become the anchor of your entire morning routine—grounding your thoughts, energizing your body, and setting a peaceful, focused tone for the day ahead.
Loved this?
Join Slow Mail — Tuesday journals + Sunday rituals.